Food product video ideas work best when each clip makes taste, texture, or convenience visible. This guide is for small food brands, market sellers, and online shops that need practical ads they can shoot on a phone.
The simplest approach is to build a seven-shot library: an appetite-opening close-up, ingredient detail, preparation action, texture moment, serving scene, packaging reveal, and clear final packshot. Shoot every clip vertically in soft light, keep the product consistent, and assemble different openings from the same footage.
You do not need a commercial kitchen or a large crew. You need a clean surface, controlled light, a stable phone, and a shot plan that gives every frame one job.
Why food product video ideas work
Food is sensory, but a phone screen cannot deliver aroma or taste. Your video has to translate those qualities into visible evidence: steam, a crisp break, a glossy pour, a crumb close-up, or the speed of preparation.
A clear visual story also helps a small brand compete in a crowded feed. According to YouTube (2026), more than 20 million videos are uploaded to YouTube each day. That volume makes a specific opening image more useful than a generic beauty shot.
Short-form viewing is equally large. According to YouTube (2026), Shorts average more than 200 billion daily views. The practical lesson is not to chase every trend; it is to make the product understandable even when viewers discover it without context.
7 food product video ideas to try
1. Open with the most appetizing texture
Start close: crack a cookie, cut into a soft center, spoon a sauce, or lift a stretchy bite. The first image should communicate the product category before a viewer needs to read anything.
Record the action three times at normal speed. Keep the cleanest take, then try a slightly tighter crop as a second hook. For more opening structures, use this library of product video hooks for phone-shot ads.
2. Show one ingredient with a purpose
Choose one ingredient that genuinely matters to the product story. Film it beside the finished item, then capture a simple action such as sprinkling, zesting, grinding, or pouring.
Avoid implying health effects that your packaging and evidence do not support. The goal is visual specificity, not a long list of claims.
3. Film the preparation payoff
Show the moment the product becomes useful: water hitting a drink mix, granola landing in a bowl, frozen food becoming a plated snack, or seasoning coating vegetables. Trim the setup and keep the transformation.
Use the same plate, glass, and background in every take. Continuity makes several short clips feel like one polished ad.
4. Capture a crisp sound moment
Record a seal opening, a crunch, a fizz, or a spoon tapping the crust. Move to a quiet room, bring the phone close, and record several seconds before and after the action.
Natural sound can make the footage feel immediate. If the sound is messy, use the visual by itself rather than forcing an artificial effect.
5. Build a hand-to-table serving scene
Film one hand placing the product into a believable moment: breakfast at a bright table, a desk snack, a picnic plate, or a quick dinner. Keep the hand movement slow and the background sparse.
This shot answers “where does this fit in my day?” without needing a full lifestyle production. Check the frame edges for clutter before recording.
6. Reveal the package after the food
Lead with appetite, then connect it to the item someone can buy. Slide the package beside the plated food, rotate it gently, or lift it into the same pool of light.
Make sure the real label is readable in your original footage, but do not linger on tiny copy. The package should confirm identity while the food remains the visual reward.
7. End on a clean packshot
Finish with the product upright, unobstructed, and centered with room around it. Hold the phone still for two full seconds so the editor has enough footage for a calm ending.
If you only have a strong product photo, you can turn a single product photo into a short ad in Prodvid, our team’s iPhone app for AI product video ads.
How do you shoot food product videos on a phone?
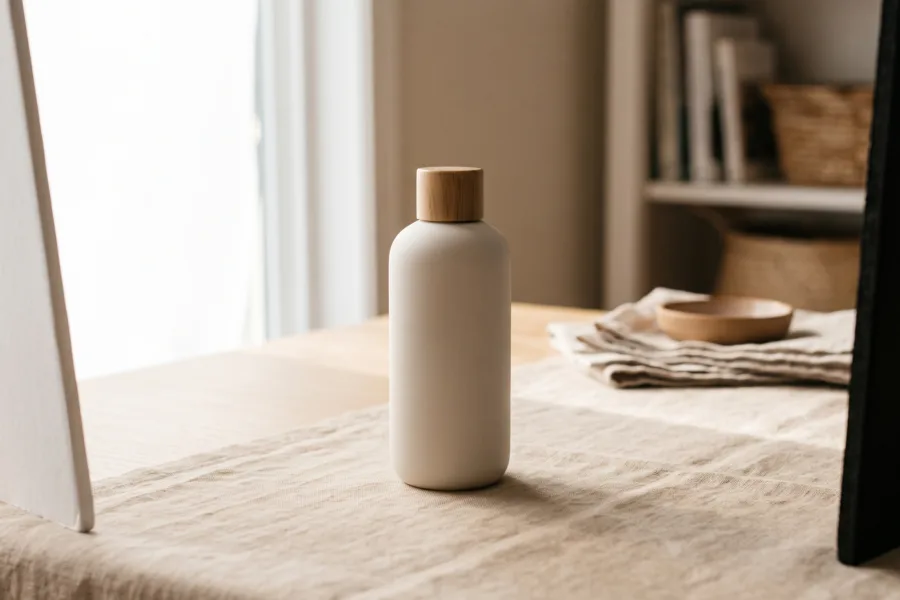
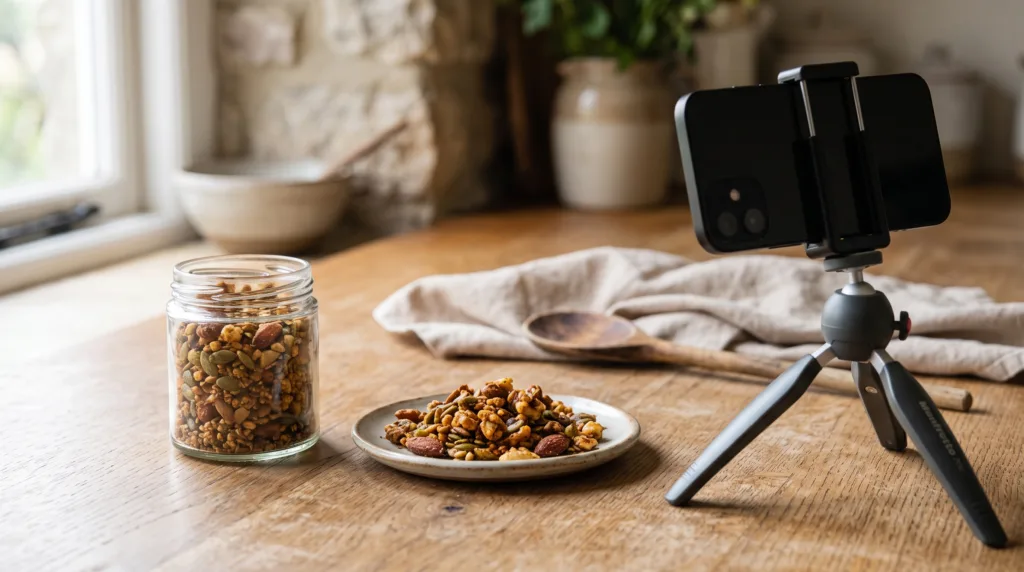
Shoot beside a large window with the main light coming from the side, not from directly behind the phone. Side light reveals crumbs, bubbles, frost, and surface texture while keeping the setup simple.
- Clean the phone lens and switch off mixed overhead lighting.
- Place the product about one arm’s length from the window.
- Use white card opposite the window to soften dark shadows.
- Lock focus and exposure on the food, then lower exposure slightly if highlights look blown out.
- Record vertical clips for five to eight seconds, with a pause before and after each action.
- Review the label, color, crumbs, reflections, and background before changing the setup.
A compact tripod helps, but a stable stack of boxes can work when the phone is secure. Plan the whole session with a 12-clip product video shot list if you want enough coverage for several edits.
A copyable 15-second food ad shot list
Use this template as written, then replace the bracketed words with your product details.
0–2 seconds: [texture action] in an extreme close-up.
2–4 seconds: [key ingredient] entering the frame.
4–7 seconds: [preparation action] from a 45-degree angle.
7–10 seconds: [serving moment] in a believable setting.
10–12 seconds: Real package beside the prepared food.
12–15 seconds: Still packshot with one simple offer or product statement added during editing.
Before filming, copy this checklist:
- Real package and product match in every shot.
- Lens, surface, plate, and glass are clean.
- Window light is consistent.
- Every action has a beginning, middle, and end.
- No unsupported nutrition or health claim appears.
- Final packshot has two seconds of still footage.
FAQ
What should the first shot of a food ad be?
The first shot should be the most specific appetizing action you can show immediately. A break, pour, squeeze, sprinkle, steam plume, or spoon lift usually communicates more than a package alone. Choose one motion that reveals texture and makes the food category obvious without sound.
How long should a food product video be?
A useful starting point is 10 to 20 seconds, but the right length is the shortest edit that completes the product story. Make a 15-second master, then cut a shorter version by removing repeated angles rather than speeding every clip up.
How do you make food look good on an iPhone?
Use fresh product, side window light, a clean lens, and a simple background. Expose for the brightest part of the food and move the phone physically closer instead of relying on heavy digital zoom. Small finishing actions, such as adding a garnish just before recording, help texture look intentional.
Can one shoot create several food ads?
Yes. Record three different hooks, one preparation sequence, two serving angles, and one clean packshot. Keep everything after the hook mostly consistent, then swap the opening clip. This creates distinct concepts without restaging the entire scene or changing the core message.
Key takeaways
- Translate taste into visible texture, movement, sound, and serving context.
- Build a reusable library of hooks, preparation clips, lifestyle moments, and packshots.
- Use side window light and lock exposure for consistent phone footage.
- Show the food first, then connect it clearly to the real package.
- Plan a 15-second master edit and create variations by changing the opening.
Sources
- YouTube Press: YouTube by the numbers (accessed 2026).