Product hero shot makeover means restaging a plain catalog image so the product becomes the unmistakable focal point. It is useful for small brands that have a clean packshot but need a stronger opening frame for a mobile ad.
A good makeover keeps the product recognizable while changing only the stage: surface, light direction, camera angle, and one supporting texture. Start with a sharp, evenly lit product photo, choose one visual idea, and protect the silhouette and label. The result should communicate mood without making the item harder to identify.
Why does a product hero shot makeover work?
It works because a catalog image and an ad opener have different jobs. A catalog image documents the item clearly. A hero image still shows the item, but adds a visual reason to pause: cold stone for freshness, reflective metal for energy, or a dark mirror for atmosphere.
The transformation should be controlled rather than decorative. One surface, one light direction, and one dominant color are usually enough. If every prop competes for attention, the product stops being the hero.
| Decision | Plain packshot | Hero-shot makeover |
|---|---|---|
| Primary job | Document the item | Introduce a campaign mood |
| Background | Neutral and even | One deliberate surface or environment |
| Lighting | Soft, descriptive | Directional, while preserving detail |
| Best use | Product listing gallery | Ad opener, carousel cover, landing-page lead |
Do not discard the clean packshot. It remains the reference for color, proportions, and label accuracy. The makeover is an additional campaign asset, not a replacement for clear product documentation.
4 product hero shot makeover ideas to try
Each example changes the visual story while keeping the product readable. Use the closest match as a starting point, then adapt the materials to your own category.
1. Skincare on wet stone
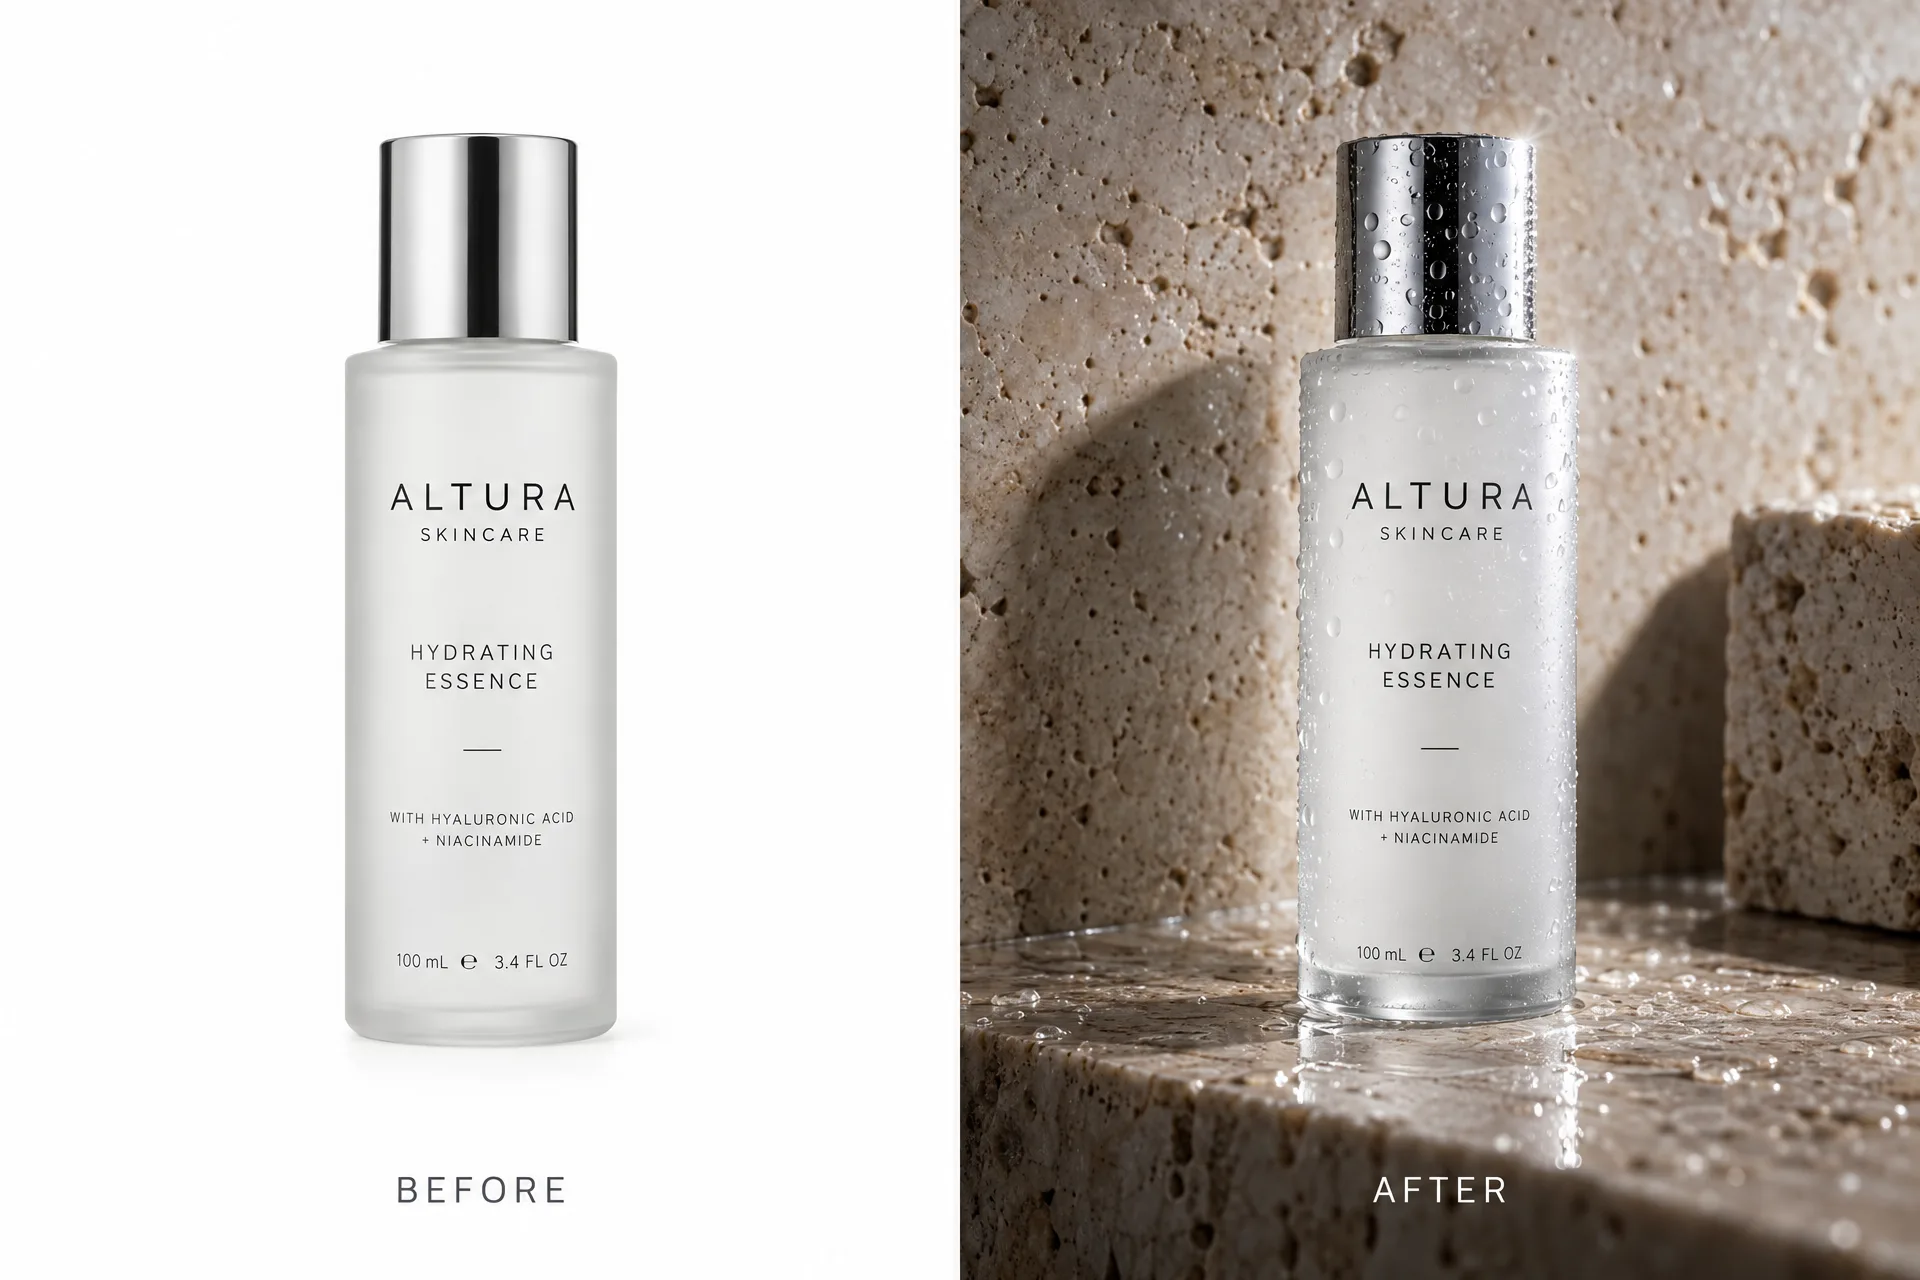
Place a waterproof bottle on a dark tile or stone sample near a window. Mist the surface rather than the product label. Move a white card opposite the window until the bottle edge separates from the background.
This setup is strongest when the formula story involves freshness, hydration, or a cooling routine. For more close-up material ideas, see our guide to tactile product photography on a phone.
2. Sneakers with foil and acrylic
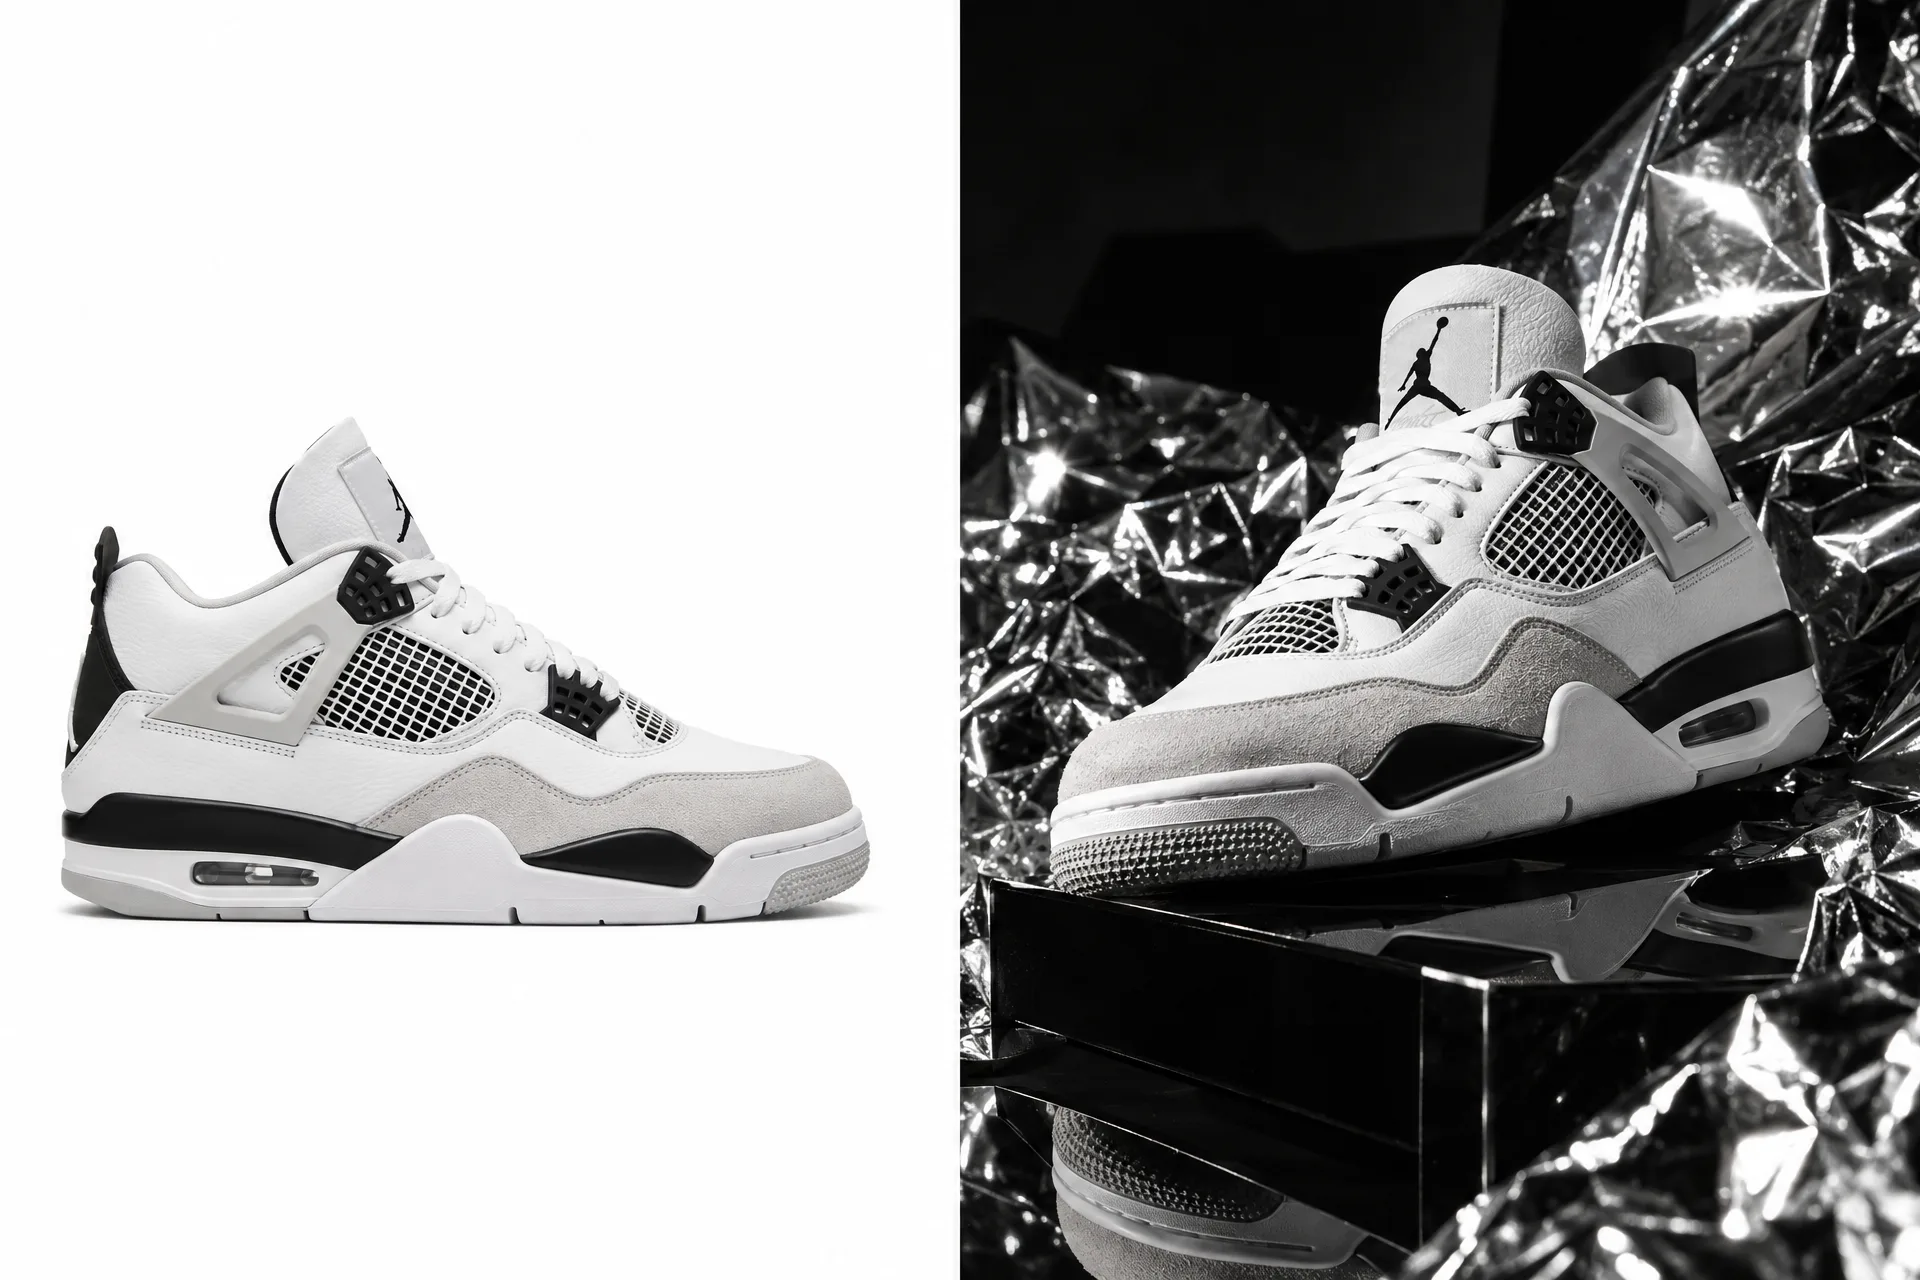
Set the shoe on matte black card and place loosely crumpled silver foil behind it. Keep the foil out of contact with important edges. Lower the phone to sole height, then tap and hold on the shoe to lock focus and exposure before recording a slow push-in.
The product shape must stay more legible than the reflection. If the foil becomes the brightest object, rotate it away from the light or move it farther back.
3. Fragrance with a dark mirror
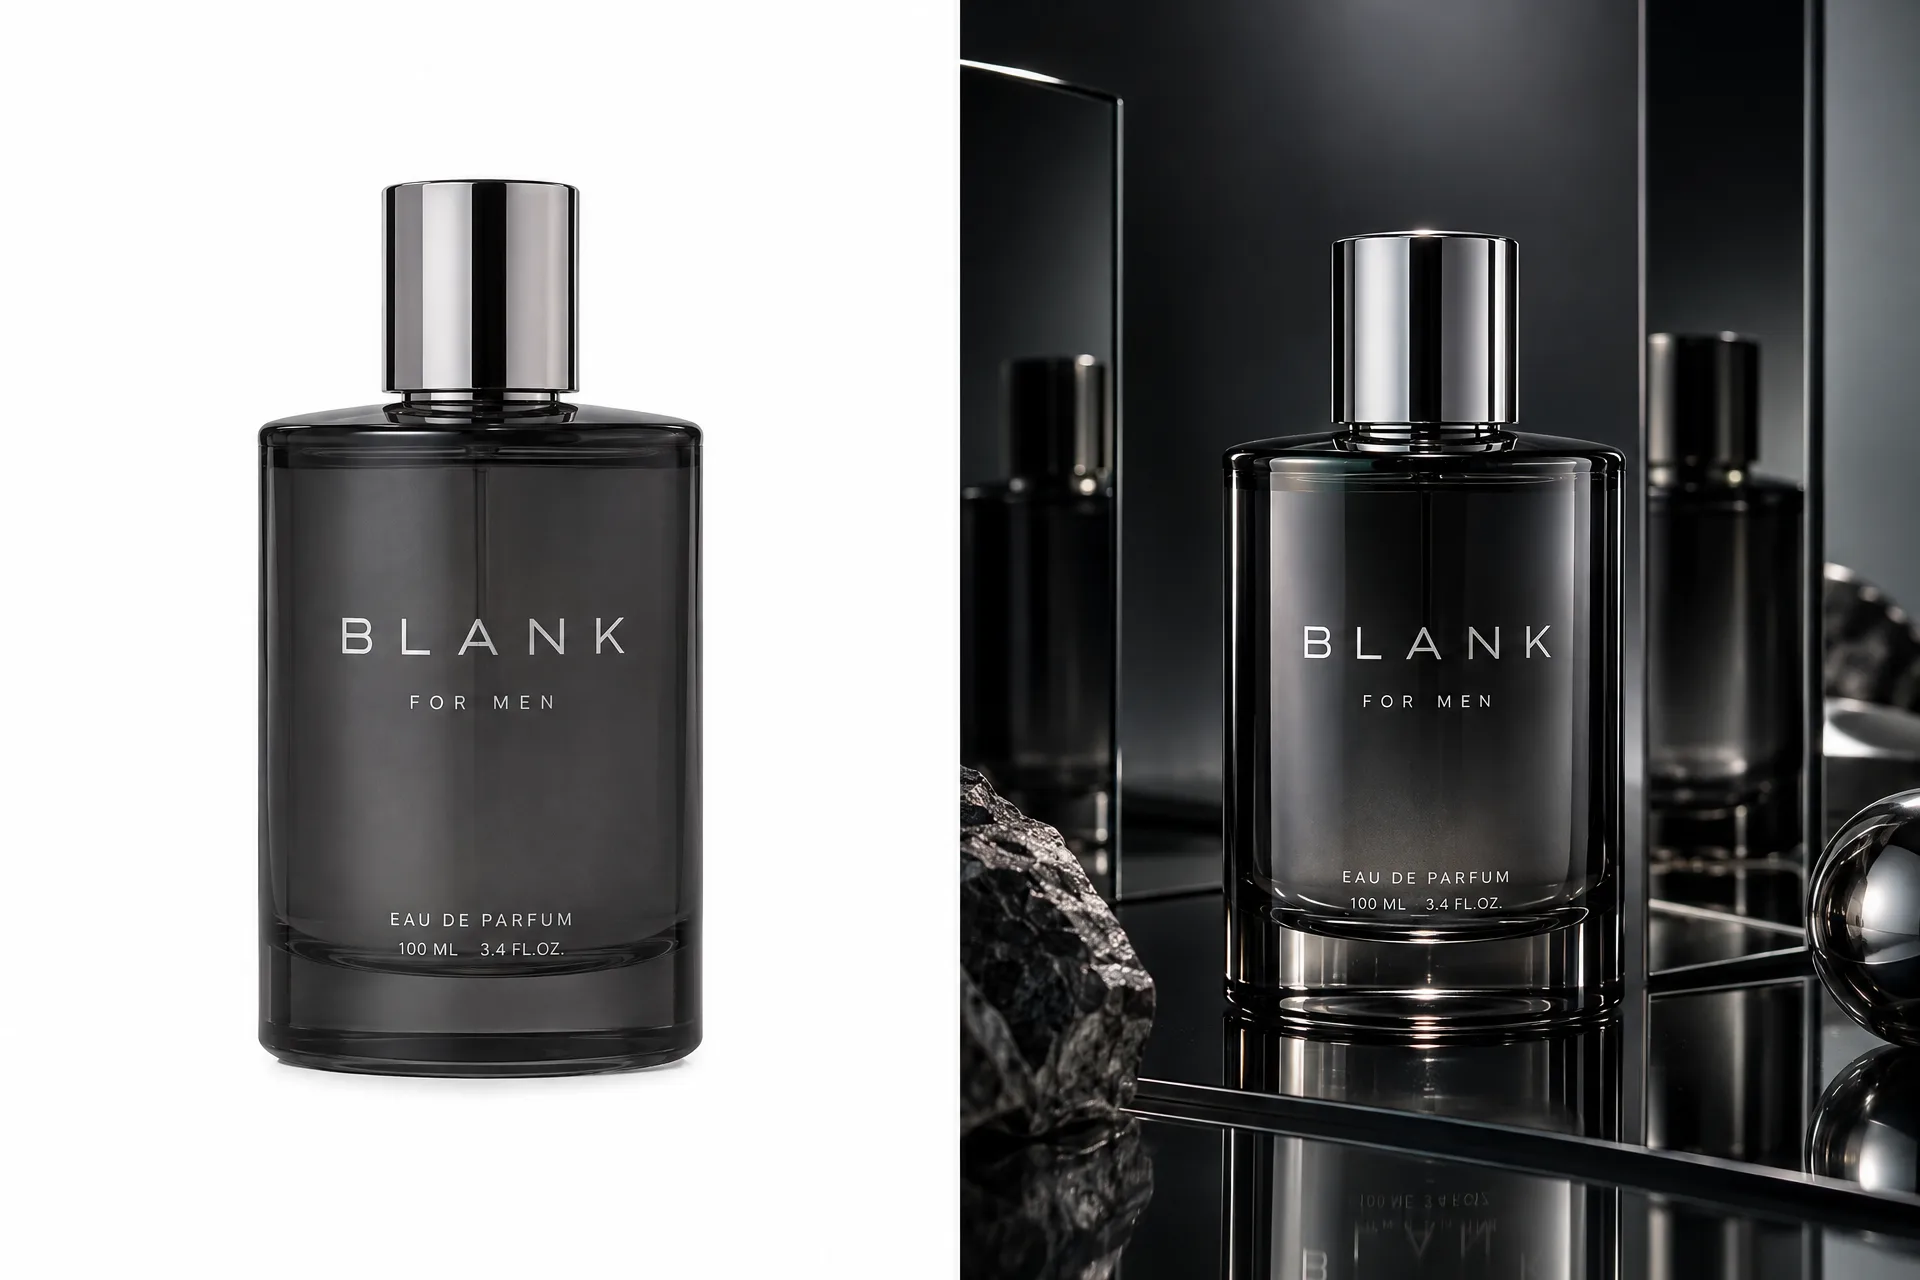
Use a black acrylic sheet, glossy tile, or small mirror as the base. Light the bottle from behind and slightly to one side, then bounce a little light onto the front. Clean the surface immediately before shooting; dust becomes obvious in a dark reflective scene.
Reflection-led frames suit fragrance because shape, glass, and color can carry the mood. Our glass reflection product setups explain how to control duplicate edges and glare.
4. Supplements on color acrylic
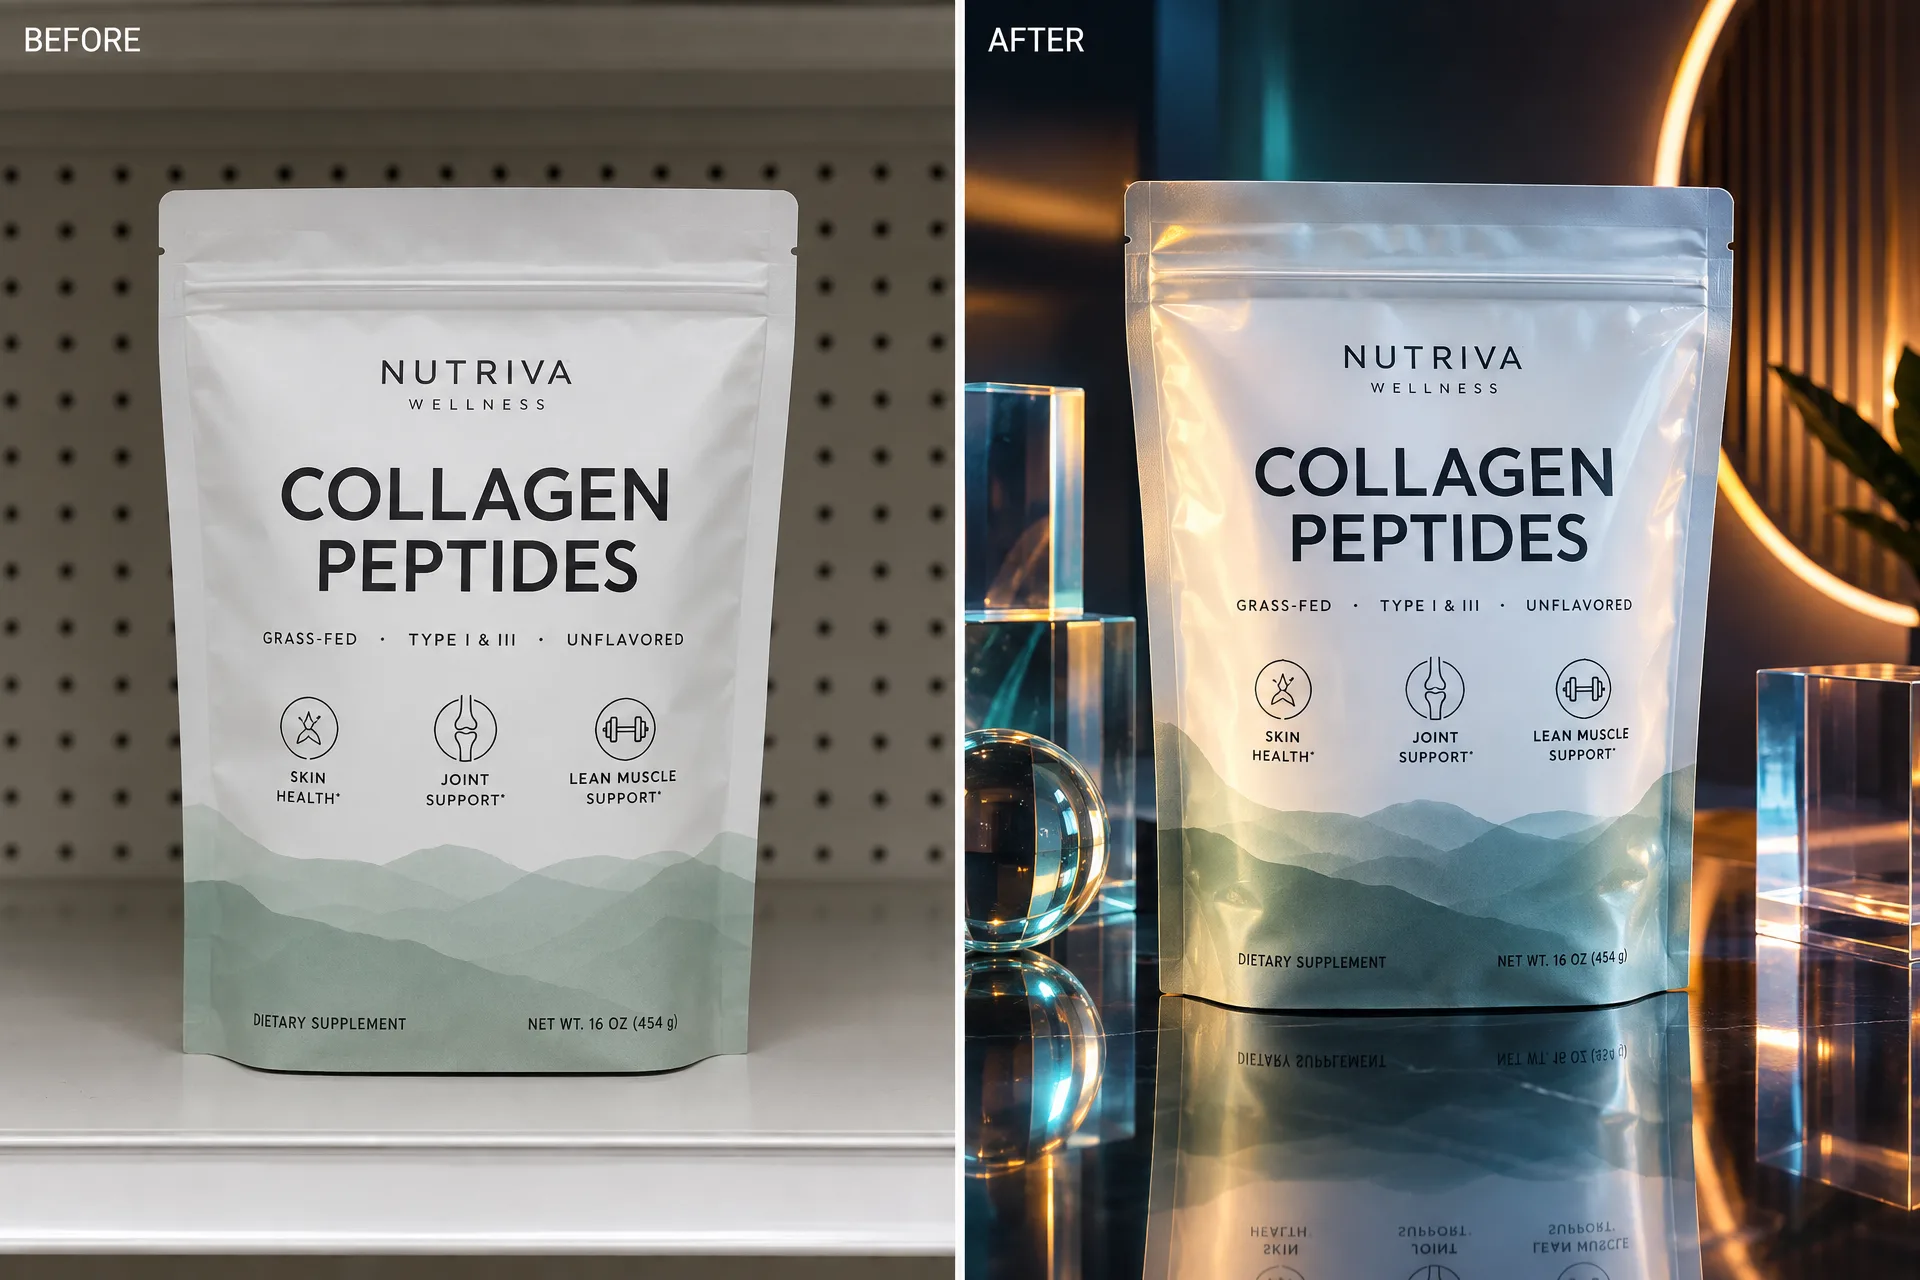
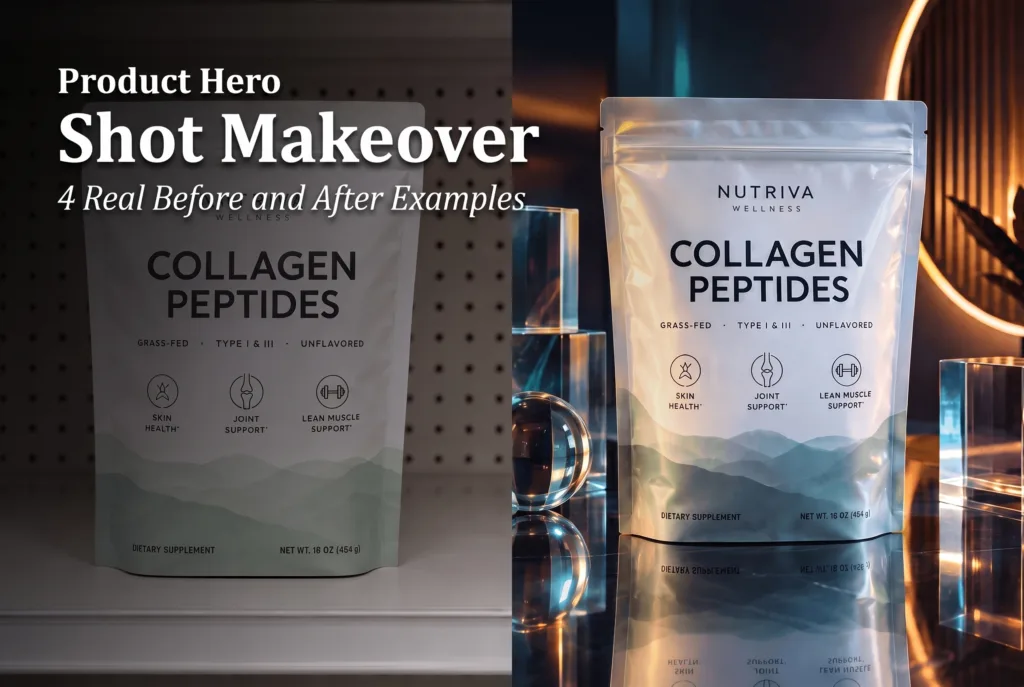
Stand the pouch upright and use two colored cards at different distances to create layers. A clear acrylic offcut can add a reflection, but it should not cross the product name or key visual mark. Shoot one clean frame before adding any foreground object so you have a safe version.
According to Google Merchant Center (2026), product images may be up to 64 megapixels or 16 MB, and Google recommends images around 1500 by 1500 pixels or larger for performance across listing formats. That is a useful reminder to preserve a high-resolution master before cropping for ads.
How do you create a product hero shot on a phone?
Build the frame in layers and judge every change against product clarity. A phone is enough when the lens is clean, the light is stable, and the product fills the frame without digital zoom.
- Prepare the reference. Photograph the item straight-on against a plain background with even light.
- Choose one message. Write a single mood word such as fresh, rugged, calm, precise, or playful.
- Match one material. Pick stone, paper, fabric, foil, glass, or wood that supports that word.
- Set the light. Start beside a window. Add white card for fill or black card to deepen an edge.
- Lock the camera. Stabilize the phone, lock focus and exposure, and record both a still frame and a five-second motion clip.
- Check accuracy. Compare shape, color, closures, label, and small details with the real item.
- Export variants. Keep a full-resolution master, then crop separate versions for each placement.
According to Shopify (2026), its platform accepts images up to 5000 by 5000 pixels and 20 MB, recommends 2048 by 2048 pixels for square product images, and requires more than 800 by 800 pixels for zoom. Even when the final asset is video, a detailed source image gives you more room to reframe.
A copyable product hero shot makeover workflow
Use this brief before touching props or opening an editing tool:
Product: [item and variant]
Audience: [specific buyer]
Mood word: [one word]
Hero material: [one surface or texture]
Light direction: [front, side, or back]
Must preserve: [shape, color, label, closure]
Opening motion: [push-in, tilt, orbit, or static]
Final crops: [placements you actually need]
First capture the clean reference and the styled still. Then record one simple camera move rather than several complicated moves. Review the product at full size, not only as a thumbnail.
If you want to animate a clean source image after the still is approved, you can turn one product photo into a short product ad in Prodvid, our iOS app, and choose the effect, aspect ratio, and duration. Keep the original packshot beside the result during review so visual changes are easy to spot.
Copyable final-check checklist
- The silhouette matches the real product.
- The label and opening mechanism are not warped or covered.
- The product is the sharpest, clearest object.
- One material supports the message; extra props are removed.
- Highlights retain detail and dark areas are not blocked up.
- The frame still reads clearly at phone-screen size.
- The master file is saved before platform crops are made.
Product hero shot makeover FAQ
What is a product hero shot?
A product hero shot is the lead image that establishes both the item and the campaign mood. Unlike a basic catalog frame, it uses deliberate light, surface, angle, and texture to create a point of view. The product should still be immediately recognizable and visually accurate.
Can I make a product hero shot with only one light?
Yes. One window or continuous lamp can create a strong product hero shot. Use white card to soften shadows, black card to add edge contrast, and distance to control falloff. Turning the product or surface is often more effective than adding another light.
Should the label always face the camera?
No, but the product must remain identifiable. A label-forward frame is safest for an unfamiliar item or a product page. A partial label can work in a campaign teaser when the silhouette, color, and packaging are already recognizable. Always capture a clear label version as a backup.
How many makeover versions should I make?
Start with three controlled versions: change the surface, the light direction, or the camera angle one at a time. Keeping the other decisions fixed makes the comparison useful. If you change every variable at once, you will not know which choice improved or weakened the frame.
Key takeaways
- Keep the clean packshot as the accuracy reference and create the hero image as a separate campaign asset.
- Choose one mood, one material, and one light direction before adding props.
- Protect the silhouette, color, closure, and label during shooting and editing.
- Capture a high-resolution master, then crop for individual placements.
- Test controlled variations so you can identify which creative decision matters.