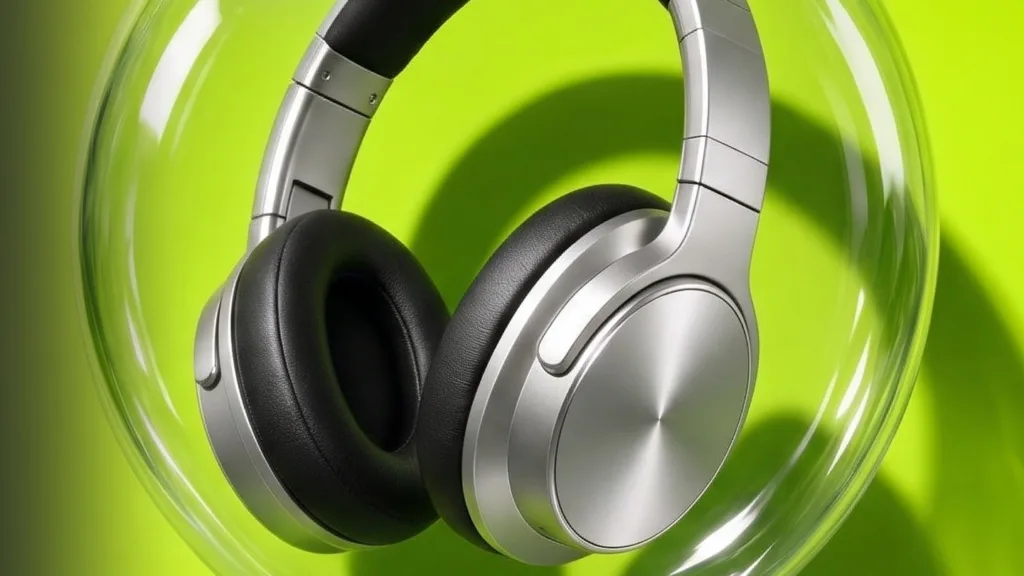
Bubble product effect creative places a product inside or behind a transparent sphere, turning a plain packshot into a bright visual story. This guide is for small tech brands and sellers who want to build the look with a phone and a clean product photo.
A strong bubble product effect uses one clear sphere as a frame, one contrasting background, and one readable product silhouette. Keep reflections away from important details, add a grounded shadow, and animate only one element at a time. The result should communicate the product before the visual trick.
Why does a bubble product effect work?
It works because the sphere creates a second, simple silhouette around the item. Reflections suggest polish and depth, while the circular frame directs attention inward. This is especially useful for compact products such as headphones, speakers, charging cases, smartwatches, and phone accessories.
The product must still win the hierarchy. If the bubble is brighter, sharper, or more detailed than the item, the ad becomes an effect demo. Use one sphere, one dominant background color, and enough empty space for the object to be understood at thumbnail size.
According to TikTok Ads Manager Help (2026), the recommended vertical format for non-Spark in-feed video is 9:16 at 540 by 960 pixels or higher. Compose the product near the center so interface elements and later crops do not cover its defining features.
4 bubble product effect looks for tech ads
1. The hard-flash headphone bubble
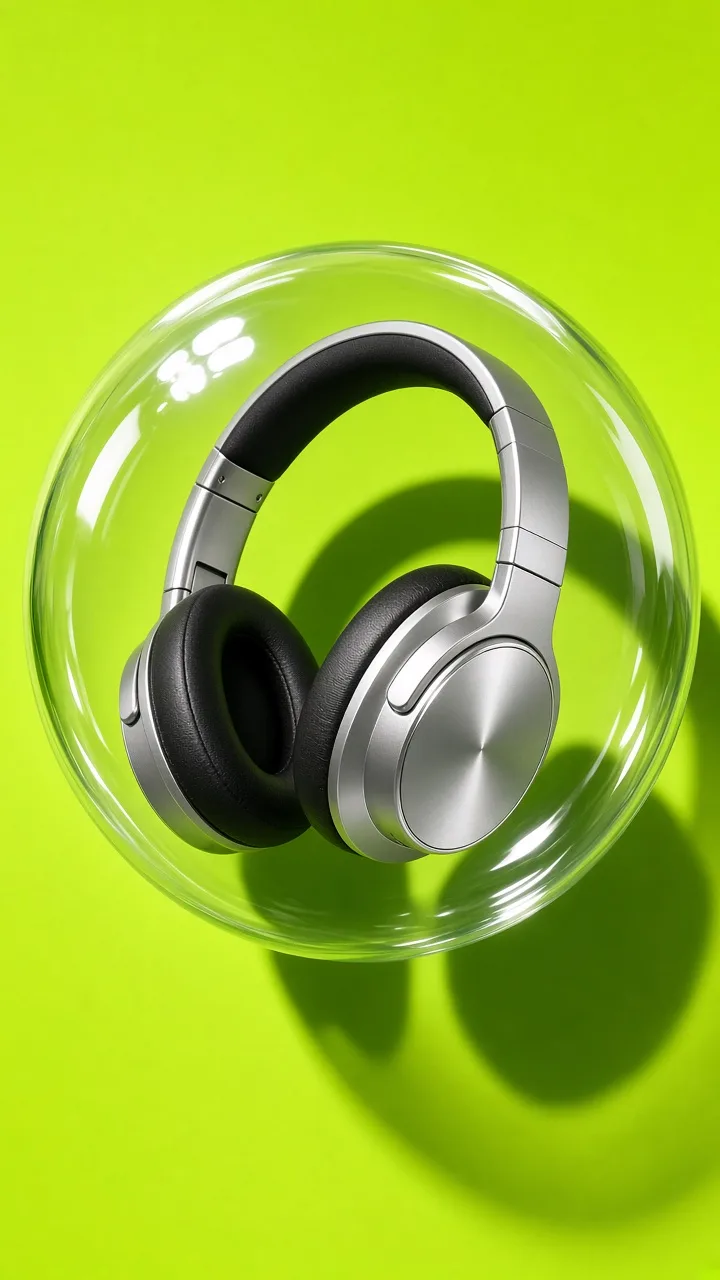
Place silver or pale headphones inside a clear sphere against cobalt, coral, or acid green. Use a hard side light to draw a crisp rim around the bubble and reveal the product’s metal finish. A compact shadow beneath or behind the sphere prevents the composition from feeling pasted together.
For motion, begin on an ear-cup detail, pull back to reveal the bubble, then hold on the complete product. The final hold gives viewers time to understand the item. Keep the reveal short and let the product remain still while the camera moves.
2. The electric-lime lens
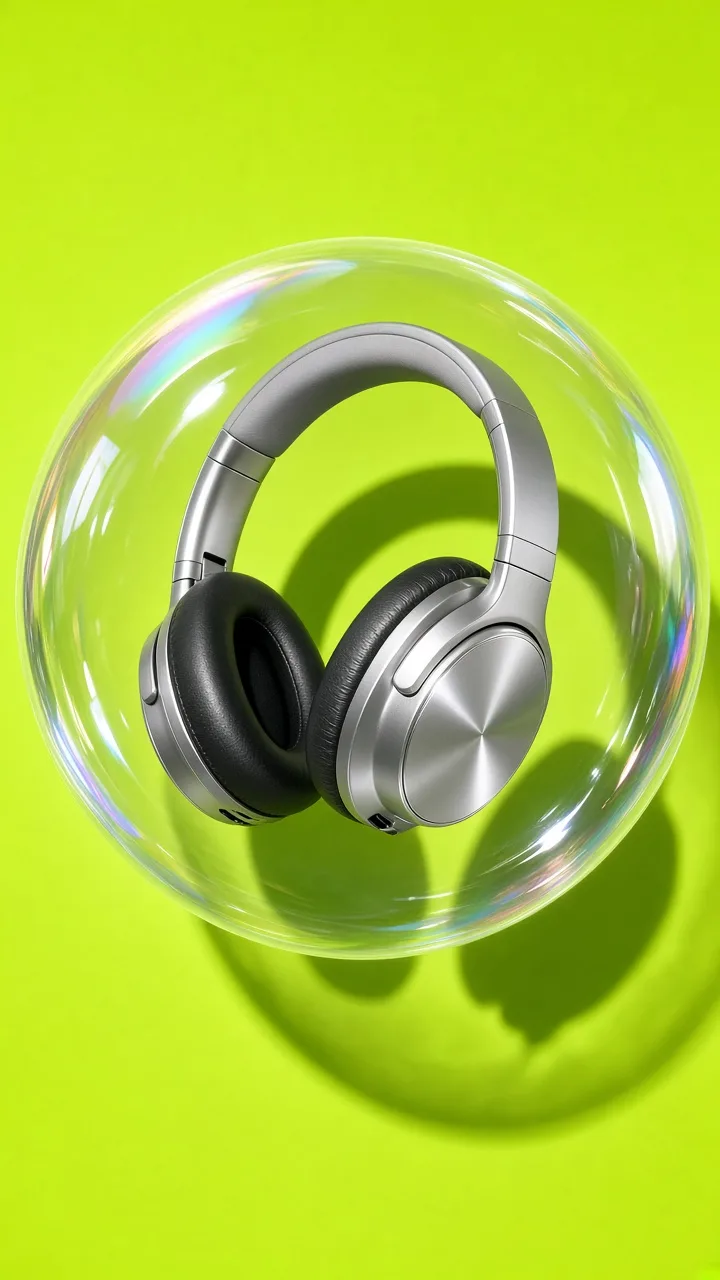
Use lime behind a black, charcoal, or chrome device. Let the sphere bend the color at its edge, but keep the central product undistorted. This variation works for a portable speaker, charging case, controller, or wearable whose shape can be recognized without text.
Leave one quiet area in the composition if you plan to add a benefit line later. Add that message in the edit, not inside the source scene. This keeps the visual reusable when you change language, offer, format, or placement.
3. The candy-color orbit
Pair two soft colors, such as peach with lilac or sky blue with pale yellow. Keep one large bubble around the product and place two smaller bubbles near the frame edge. The smaller forms should support the direction of motion rather than compete with the hero sphere.
Animate the small bubbles on slow curved paths while the product remains steady. This gives earbuds, portable lights, or creator accessories a playful mood without sacrificing inspection. Avoid heavy depth blur; the product’s edges and material still need to read on a phone.
4. The glass-portal reveal
Treat the sphere as a window instead of a container. Start on one color field, expand the glass circle, and reveal a contrasting product environment inside it. A warm exterior can open onto a cool silver device, or violet can reveal a pale blue accessory.
Use the reveal as the first beat, then cut to ordinary product details. The contrast makes the transition satisfying, while the close-ups provide evidence about finish, controls, and scale. For another transparent-light treatment, compare this with the prism packshot effect for phone ads.
How do you make the effect from one product photo?
Start with a source image that shows the full product clearly. A straightforward photo gives a generated or composited scene fewer opportunities to alter buttons, seams, ports, or proportions.
- Clean the source. Use an evenly lit product photo with no hand, clutter, or deep cast shadow.
- Choose contrast. Put dark products on a bright field and pale products on a saturated or darker field.
- Name the material. Specify clear acrylic, thin glass, or transparent vinyl so reflections have a coherent character.
- Lock the composition. State whether the item is centered, slightly high, or seen through the sphere.
- Protect product details. Check logos, controls, ports, symmetry, and the outline against the original photo.
- Add motion sparingly. Use a push-in, pull-back, orbit, or bubble expansion rather than stacking several moves.
- Export the hero format. Finish the vertical version first, then make square and landscape crops only after the focal frame works.
If you want an AI-assisted route, you can turn a product photo into a short product ad in Prodvid, our iOS app for AI product video ads. Whatever tool you use, compare every generated frame with the real item before publishing.
Copyable scene brief
Unbranded [product] centered inside one clear [glass/acrylic] sphere, [background color] studio set, [hard/soft] side light, crisp product edges, compact grounded shadow, realistic materials, clean commercial product shot, no text, no extra objects, vertical composition.
How should you shoot supporting footage on a phone?
Shoot three real clips to anchor the stylized reveal: a close-up of the material, a hand-free turntable view, and a static packshot. Match the light direction and background family used in the bubble scene. These cuts help the viewer connect the visual idea to the product they can actually buy.
According to Google Ads Help (2026), Demand Gen supports landscape 1.91:1, portrait 4:5, and square 1:1 image assets, plus horizontal, square, and vertical video. Keep the product centered and shoot wider than the final crop so one setup can cover more placements.
Phone-shoot checklist
- Clean the lens and product surface.
- Lock focus and exposure on the product.
- Use one light direction for every clip.
- Record each move twice: slow and very slow.
- Hold the first and last frame for one second.
- Check the product at thumbnail size.
- Add claims, prices, and offer text only during editing.
For another bright, tactile direction that uses real materials, see these crushed-ice product effect setups.
FAQ
What products suit a bubble product effect?
Compact products with a clear silhouette suit it best. Headphones, earbuds, speakers, watches, small beauty tools, and phone accessories remain recognizable inside a circle. Large or visually busy products can work, but the sphere should frame one feature rather than squeeze the whole item into a crowded scene.
Should the bubble move or should the product move?
Move one at a time. A steady product with a slowly orbiting bubble is easy to read, while a static sphere with a short camera push-in feels more controlled. When the bubble, product, camera, and background all move together, reflections become noisy and important details are harder to inspect.
Can you shoot the effect without AI?
Yes. Place a product behind a clear acrylic dome, glass bowl, or large transparent ornament and light it from the side. Keep the camera far enough away to reduce wide-angle distortion. You can also film the product normally and composite a bubble overlay, provided its highlight and shadow match the scene.
How do you keep the bubble from hiding the product?
Put the brightest reflection along the sphere’s outer rim and keep the center relatively clear. Rotate the light or camera until glare moves away from controls, screens, labels, and logos. If the item still disappears, simplify the background and increase tonal contrast before adding more effects.
Key takeaways
- Use one sphere as a frame, not several effects as decoration.
- Keep the product sharper and more important than the bubble.
- Choose a background that creates immediate light-dark contrast.
- Animate one element at a time and hold on a clear final packshot.
- Verify generated product details against the real item before publishing.